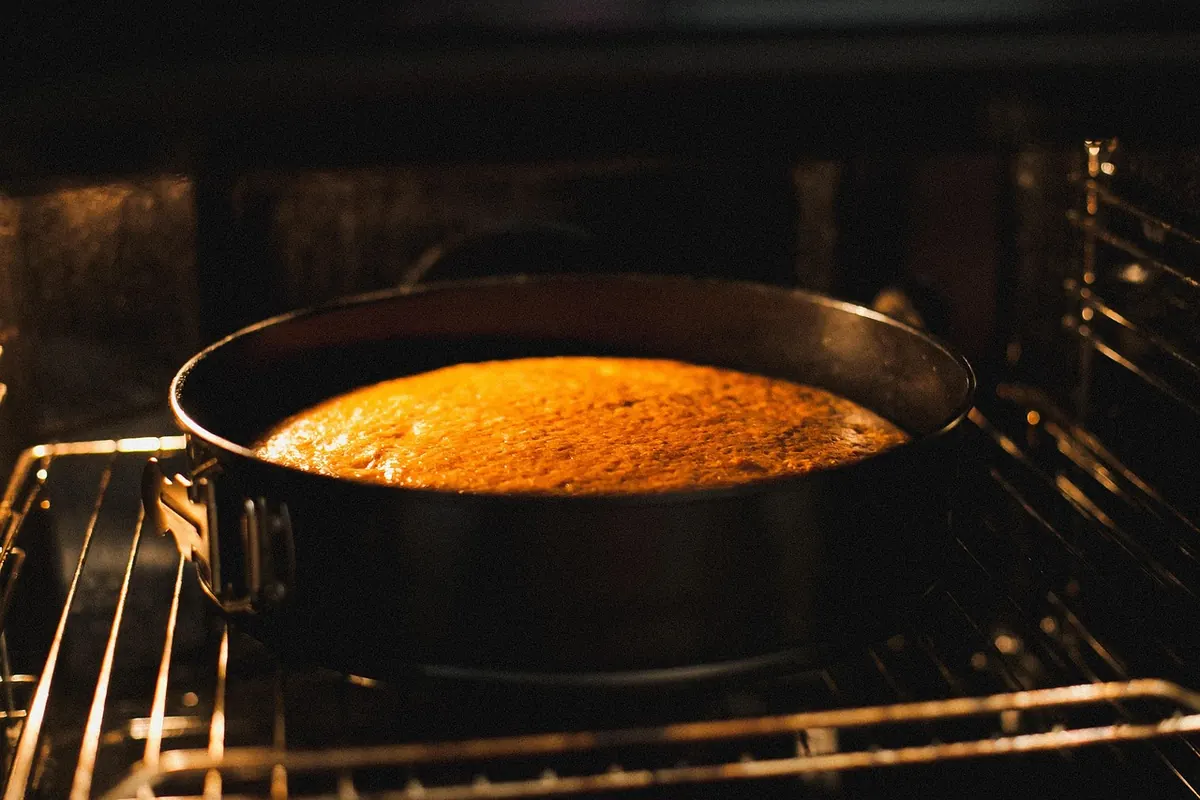
You followed the recipe. The batter looked right, the pan was greased, the timer was set. Forty minutes later you're staring at a cake with a dark, firm crust and a center that wobbles like pudding. That gap between what the recipe promised and what came out of the oven is almost never about your mixing. It's about heat — how much, from where, and how fast it reaches the edge of the pan versus the middle. Fix those and uneven cakes stop feeling like bad luck.
Radiant heat comes off the oven's walls and elements and warms whatever it can "see." Convection heat travels with the air currents moving inside the oven. Conduction heat passes through the metal pan directly into the batter touching it.
Your cake's outer edge gets all three at full strength. The center gets only what slowly conducts inward through the batter, which is mostly water and a poor conductor of heat. That's why the edge always sets first. Every technique below is either slowing the outside down or giving the middle more time — usually both.
An oven set to 350°F doesn't hold a steady 350°F. It cycles on and off, swinging above and below the target, often by 25°F in each direction. That's normal. What isn't normal is an oven that averages 375°F when you asked for 350°F, which is far more common than most bakers realize.
Here's the test. Put an inexpensive oven thermometer on the center of the middle rack — not hanging from a rack, not near the door. Preheat for 20 minutes, then read it every 10 minutes for the next half hour and average those readings. Within 25°F of the setting means your oven is fine. More than that, and you have two options: check your manual for a calibration offset (many ovens allow a shift of up to roughly 35°F), or simply adjust your recipe temperatures by the difference. An oven that runs 40°F hot means you bake at 310°F when the recipe says 350°F.
Also, wait for a full preheat. The beep means the oven hit temperature once, not that the walls and racks are saturated with heat. Give it another 10 to 15 minutes.
Almost every home oven has corners that run hotter. Gas ovens often run hot at the back; electric ovens can be hotter near the element or the vent. If one side of your cake is consistently darker, you've already found one.
To map yours, line a sheet pan with parchment, dust it with a thin, even layer of flour, and bake at 350°F for about 15 minutes. Where the flour browns first is where your oven is hottest. Note the pattern and use it.
Middle rack is the default for cakes for a reason: it splits radiant heat between the top and bottom of the pan. Move the rack down and the pan sits closer to the bottom element, so the base sets and browns before the center has a chance to cook. Move it up and the top browns fast while the middle stays dense.
Lower-third placement is for pies, pizza, and anything you want crisp underneath. Upper-third is for broiling and quick browning. For a cake that needs to rise evenly, stay in the middle and resist the urge to "help" it along.
Pan choice changes bake time as much as rack position does.
If your only cake pan is dark, line the bottom with parchment and slide a room-temperature sheet pan under it to shield the base. It works.
If you're mid-bake and the top is browning faster than the center is setting, tent it loosely with foil and keep going. Don't seal it tight; you want steam to escape.
For the next bake, work through this list:
Cakes always set at the edges first. Everything you do is either widening that gap or closing it.
Ten minutes of setup before the batter goes in solves most of this. Preheat longer than you think you need to. Know your oven's true temperature and its hot corners. Choose the middle rack and a light-colored pan. Drop the temperature by 25°F whenever the pan, the recipe, or your instincts say the outside is going to race ahead. Rotate once, don't peek, and trust a skewer over a timer.
Do that a few times and you'll stop blaming yourself for a cake that burns outside and stays raw within. You'll have built a small, reliable picture of how your oven actually behaves, which is worth more than any recipe's temperature line.
Photo: xeno4ka / Pixabay
A practical freezer meal prep plan: pick three recipes, batch-cook in stages, portion by meal, and thaw and reheat...
Keep parsley, cilantro, basil and other fresh herbs usable for weeks with simple fridge, counter and freezer...
Seven weeknight dinners built on five ingredients or fewer — from lemon sheet-pan chicken to black bean quesadillas...

Fresh recipes and kitchen inspiration for everyday cooking.
