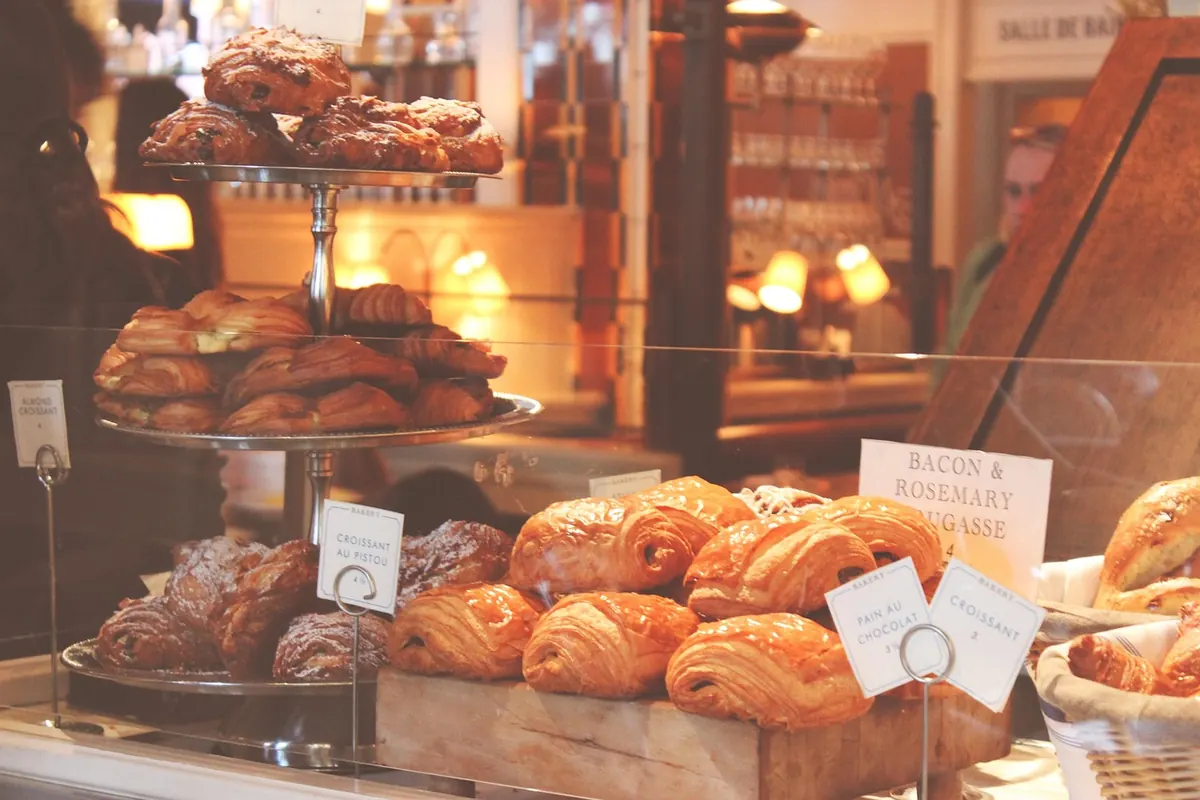
Baking has a reputation for being fussy, but most of it comes down to a few reliable tools doing their jobs properly. You don't need a stand mixer or a drawer full of novelty pans to turn out good cookies, a decent sandwich loaf, or a birthday cake. You need to measure accurately, mix evenly, and bake on pans that heat the way they should. This checklist covers what genuinely earns its place in a new baker's kitchen, what can wait a few months, and where spending a little more now saves a lot of frustration later.
If you buy nothing else, buy these. Inaccurate measuring is the single most common reason a recipe fails, and it is almost always the flour's fault. Scooping flour straight from the bag with a measuring cup can pack in far more than the recipe intended, which is why a cake comes out dry and dense instead of tender.
If a recipe gives weights, use them. If it only gives cups, spoon and level, and be consistent.
Three bowls will carry you through nearly every recipe: a small one for dry ingredients, a medium one for wet, and a large one for the final mix. Stainless steel or sturdy ceramic both work; avoid anything so light it slides around the counter while you whisk.
For tools, a balloon whisk handles eggs and small batches of cream, a silicone spatula scrapes bowls clean and folds batter without deflating it, and a wooden spoon is still the best thing for creaming butter by hand. Add a set of flat and round-handled spatulas if you plan to frost cakes. A pastry blender is optional — two knives or clean fingers do the same job for pie dough.
Aluminum is the honest workhorse here. It heats evenly and doesn't warp when it hits a hot oven. Dark nonstick pans brown the bottoms of cookies and cakes faster than the recipe assumes, so if you use them, drop your oven temperature slightly and check early.
Skip the springform pan until you're making cheesecake, and skip the tube pan until you're making angel food cake. Buy those when the recipe arrives.
A wire cooling rack is not optional, and it's the tool new bakers most often leave out. Cookies left on a hot sheet pan keep baking from the residual heat and turn crisp underneath. Bread left in its pan steams itself soggy. Set baked goods on a rack within a few minutes of pulling them from the oven so air moves underneath.
Two more small things worth owning: a roll of parchment paper, which turns any pan nonstick and makes cleanup a thirty-second job, and an inexpensive oven thermometer. Home oven dials drift, sometimes by a lot in either direction, and knowing your oven actually runs 25 degrees cool explains a lot of sunken cakes.
Once you know you'll keep baking, these make the work faster and more precise. None of them are required for your first year.
Put your money into the things that measure and the things that touch heat: a scale, a good whisk, sturdy aluminum pans, and a rack. Save on spatulas, mixing bowls, and measuring spoons — thrift stores and discount shops are full of perfectly good ones.
Resist matching sets. A twelve-piece bakeware bundle usually includes two pans you'll use weekly and ten you'll move from shelf to shelf for years. Buy each piece when a recipe calls for it, and your collection will build itself around what you actually bake. If a recipe involves a specialty pan, borrow one first or check whether a neighbor has one before committing.
Start with measuring cups, a scale, a whisk, two bowls, a spatula, one sheet pan, and a cooling rack. That short list will get you through cookies, muffins, brownies, quick breads, and most simple cakes. Bake for a month or two, notice what you keep reaching for and what you keep wishing you had, and add from there.
Then pick something forgiving for your first attempt — chocolate chip cookies or a banana bread — and read the recipe twice before you start. Gathering your tools and ingredients on the counter first, what bakers call mise en place, prevents the frantic mid-mix search for the baking soda. Good tools help, but a calm, unhurried hour in the kitchen helps more.
Photo: Pexels / Pixabay
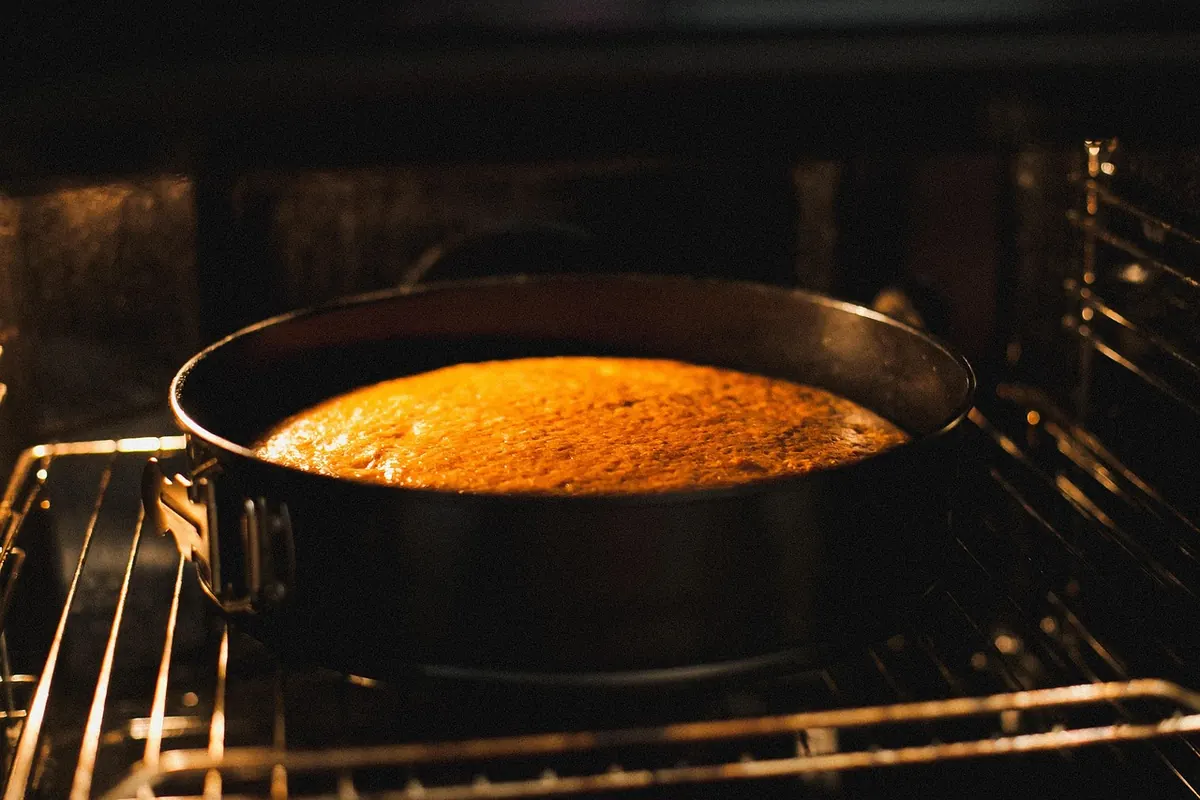
Oven hot spots, miscalibration, dark pans, and rack position explain most cakes that burn at the edges while staying...
A practical freezer meal prep plan: pick three recipes, batch-cook in stages, portion by meal, and thaw and reheat...
Keep parsley, cilantro, basil and other fresh herbs usable for weeks with simple fridge, counter and freezer...

Fresh recipes and kitchen inspiration for everyday cooking.
